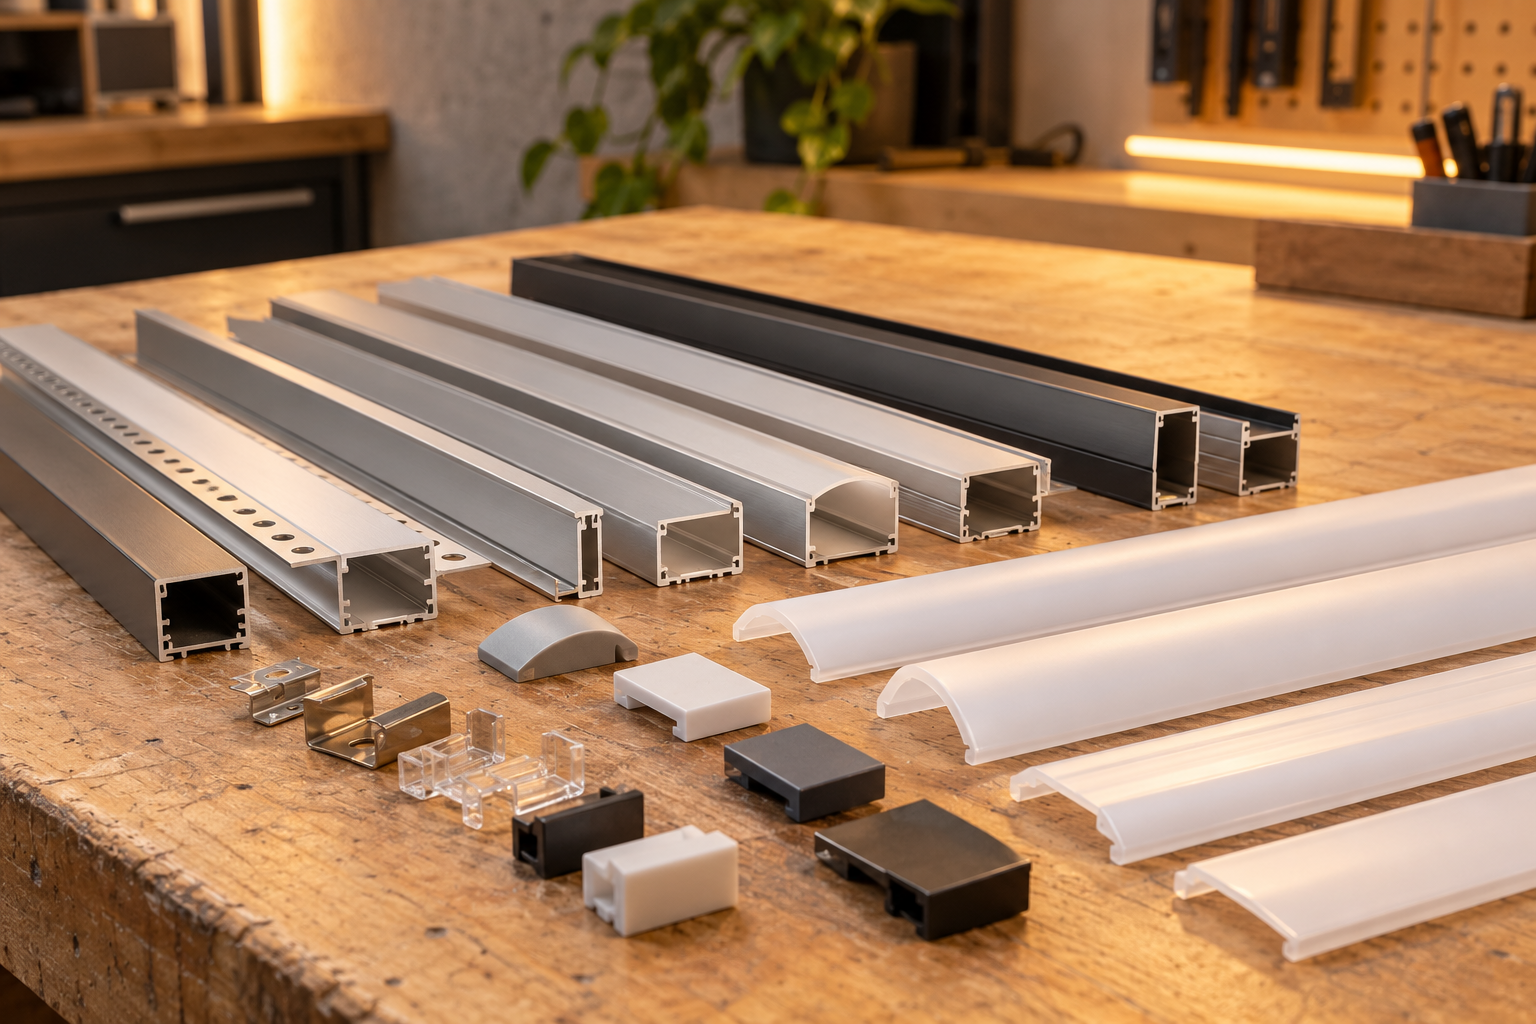
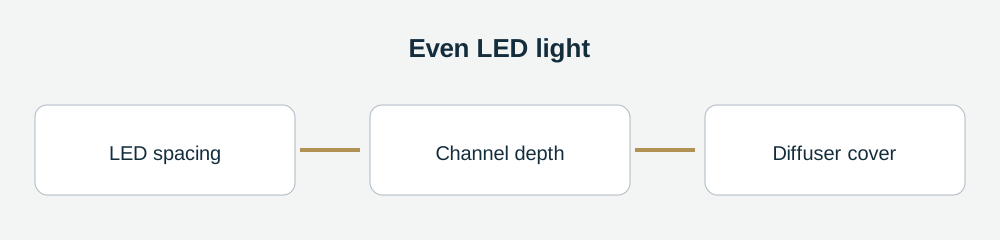
A glowing line with no obvious dots depends on the whole combination: LED spacing, the distance from the LEDs to the cover, and the cover’s ability to spread light. A deeper channel can help the light overlap; an additional diffuser layer can soften it further. Both choices affect the finished size and brightness, so compare the complete assembly in the position where it will be seen.
If your strip has widely spaced LEDs, a thin cover sitting close to them may simply turn sharp points into softer points. If you can change the strip, a denser product or a suitable COB strip gives you another way to improve uniformity. If the strip is already installed, start with its measurements and see whether there is enough space for a better-matched channel.
First check the strip and the viewing position
Find the exact number of LEDs per metre in the product sheet. With an addressable strip, distinguish LED count from pixel count: several LEDs may share one controllable pixel. For a steady line of white light, physical LED spacing matters to the appearance of the cover. For moving effects, pixel grouping matters too. A strip with many LEDs is not necessarily capable of a separate animation step at each LED.
Measure the distance available from the mounting surface to the front of the finished cover. A deep channel can be effective but may not fit beneath a shallow cabinet, inside a shelf or behind a narrow trim. The width matters too: allow for the strip, any connectors, end caps and the manufacturer’s required installation conditions. Check the dimensions of the actual parts rather than assuming a channel labelled “for LED strip” will accommodate everything.
Mark the normal viewing positions. A cove hidden behind a lip may look even from the floor although individual points are visible when you stand on a ladder. A shelf at eye level exposes the diffuser directly. A shiny backsplash or counter can reflect individual LEDs even when the channel itself is hidden. Look from the positions that matter to the people using the room, including seated and standing views.
For white light, compare the colour temperature and colour-rendering information of complete options, and check that the intended dimmer and driver work together. If flicker matters in your space, request product-specific flicker information rather than assuming all dimmable strips behave alike.
A short sample is more useful than a catalogue photograph. Put the sample in the intended channel, with its actual cover, and hold it in the proposed position. Try the desired dimming levels and colours. A phone photograph can help record the comparison, but exposure and processing may exaggerate or hide dots. Judge the installation with your eyes too.
Compare distance with layers
Light from each LED spreads as it travels. Increasing the gap between the strip and the diffuser gives adjacent beams more opportunity to overlap before they reach the cover. A more diffusing cover scatters light as it passes through. Two diffusing layers can soften the line further, though the details depend on the materials and their spacing.
These are not competing universal rules. A deep channel with a very thin cover may still show points, while a shallow profile with a heavy diffuser may look smoother but produce less light. A channel with two diffusing surfaces may work well with a relatively sparse strip; another single-layer design might perform adequately with denser LEDs and more depth. Compare specific combinations rather than deciding solely by the number of layers.
One supplier publishes example depth guidance for milky covers at different LED densities. Such guidance can help narrow a search, but it is not a universal guarantee: cover material, LED beam, output and viewing distance all vary. Ask the channel maker whether it has tested the exact strip density and whether a sample is available. No single LED-per-metre figure is a general standard for a spotless installation.
Look for the word “diffuser” in the specification, then ask what the cover actually is. Clear, frosted and milky covers look different and transmit different amounts of light. Silicone sleeves, aluminium profiles with removable covers and other systems also differ in shape, installation method and service access. A cover designed for a particular channel is preferable to a random material whose heat and electrical suitability are unknown.
Account for the light lost through the cover
Spreading light is not free. A more opaque cover or additional layers can reduce the light that reaches the room. The exact loss depends on the products and arrangement; a fixed percentage for every two-layer setup would be misleading. Compare the manufacturer’s transmission data where available and ask whether the stated fixture output includes the cover.
If the result is too dim, first revisit the job the light is meant to do. A soft accent does not need to deliver the same illumination as a kitchen worktop. You may be able to use a denser or brighter compatible strip, choose a different channel depth, accept a little visible texture, or add another lighting layer. Any brighter strip must still suit the channel’s thermal limits and the driver’s rating. Do not increase power beyond a product’s instructions merely to compensate for a darker diffuser.
The colour of the surrounding surface matters too. Light reflected off a dark ceiling or a strongly coloured wall will appear different from the same strip against a pale neutral surface. A white diffuser can soften the view of the LEDs but cannot correct an unsuitable strip colour or an installation that points light away from the intended task.
Plan power before covering a long run
For a run around 15 metres, draw the strip sections and power feeds before installing the profile. Voltage drop along a long run can make the far end dimmer or change its colour. The required feed points depend on the chosen strip, current, wire lengths and conductor size, as well as the manufacturer’s maximum-run limits. Avoid assuming a fixed injection interval applies to every product.
Use the strip’s rated watts per metre to calculate the load, include every branch and follow the power supply’s capacity instructions. The LED strip power tool is a starting point for the arithmetic. Follow the makers’ instructions for wiring, fuses, grounding and multiple supplies, and make sure the channel has room for approved connections. A flexible silicone profile may make adding a feed after installation awkward; check how the connections will be reached before pulling the strip into it.
Keep the driver accessible and ventilated as specified. New mains wiring, a hardwired driver or concealed line-voltage work requires a qualified electrician in accordance with local rules. If you cannot determine the correct wire size, protection or connection method for the low-voltage run, ask a qualified professional. Disconnect power before handling the system.
Make mounting and maintenance part of the choice
An aluminium channel can support the strip and provide a heat path when it is suitable for that product. Follow the strip and profile manufacturers’ mounting instructions; a profile that fits physically is not automatically an approved thermal arrangement. Do not seal a driver or strip into a confined space contrary to its instructions.
Consider how the diffuser is removed. Can you unclip it without damaging paint or cabinetry? Can a failed strip section be disconnected without taking down the entire run? Are replacement covers and connectors sold separately? A clean appearance on installation day is more useful when the system can be serviced later.
For a curved run, compare a flexible lighting system with a profile designed for the intended bend, and follow the maker’s bend and mounting limits. Outdoors, choose a complete assembly suitable for the actual exposure; check the rating and instructions for the strip, connections, profile and power supply separately. Product photographs are a starting point, so inspect a sample before ordering the full length.
For long visible lines, ask about diffuser lengths and how joints appear. Plan corners and end caps as part of the order. If a section must be cut, follow the marked cut positions and the manufacturer’s instructions. Test the full assembly before enclosing it and inspect for damaged or incorrectly connected components.
Compare a quote as a complete assembly
Request the same length, mounting method, diffuser and end pieces in each quotation. Ask whether a replacement cover can be purchased in the future and whether the supplier can identify a compatible strip. A profile that looks inexpensive by itself may need additional connectors, delivery or installation work. Check the current price of the complete assembly and the conditions of any warranty. Keep the sample until the installed sections have been checked against it.
Six checks before buying a channel
- Record LED density and, for animated strips, separately record pixels per metre.
- Check the diffuser construction and how many light-spreading layers it uses.
- Measure the distance between the LEDs and the cover and the space available for the complete profile.
- Compare output with the chosen cover and leave enough light for the intended task.
- Plan long-run power feeds, wiring and access to the driver before mounting.
- Confirm the fixing method, thermal requirements and how the cover and strip can be replaced.
A sample of the exact combination, viewed in the actual space, is the best way to decide whether the remaining dots are acceptable.
Questions & discussion
Share a question or a useful experience about this guide. Comments appear immediately. Your name and comment are public. Email is optional and stays private; reply emails are not enabled yet. Comment privacy.