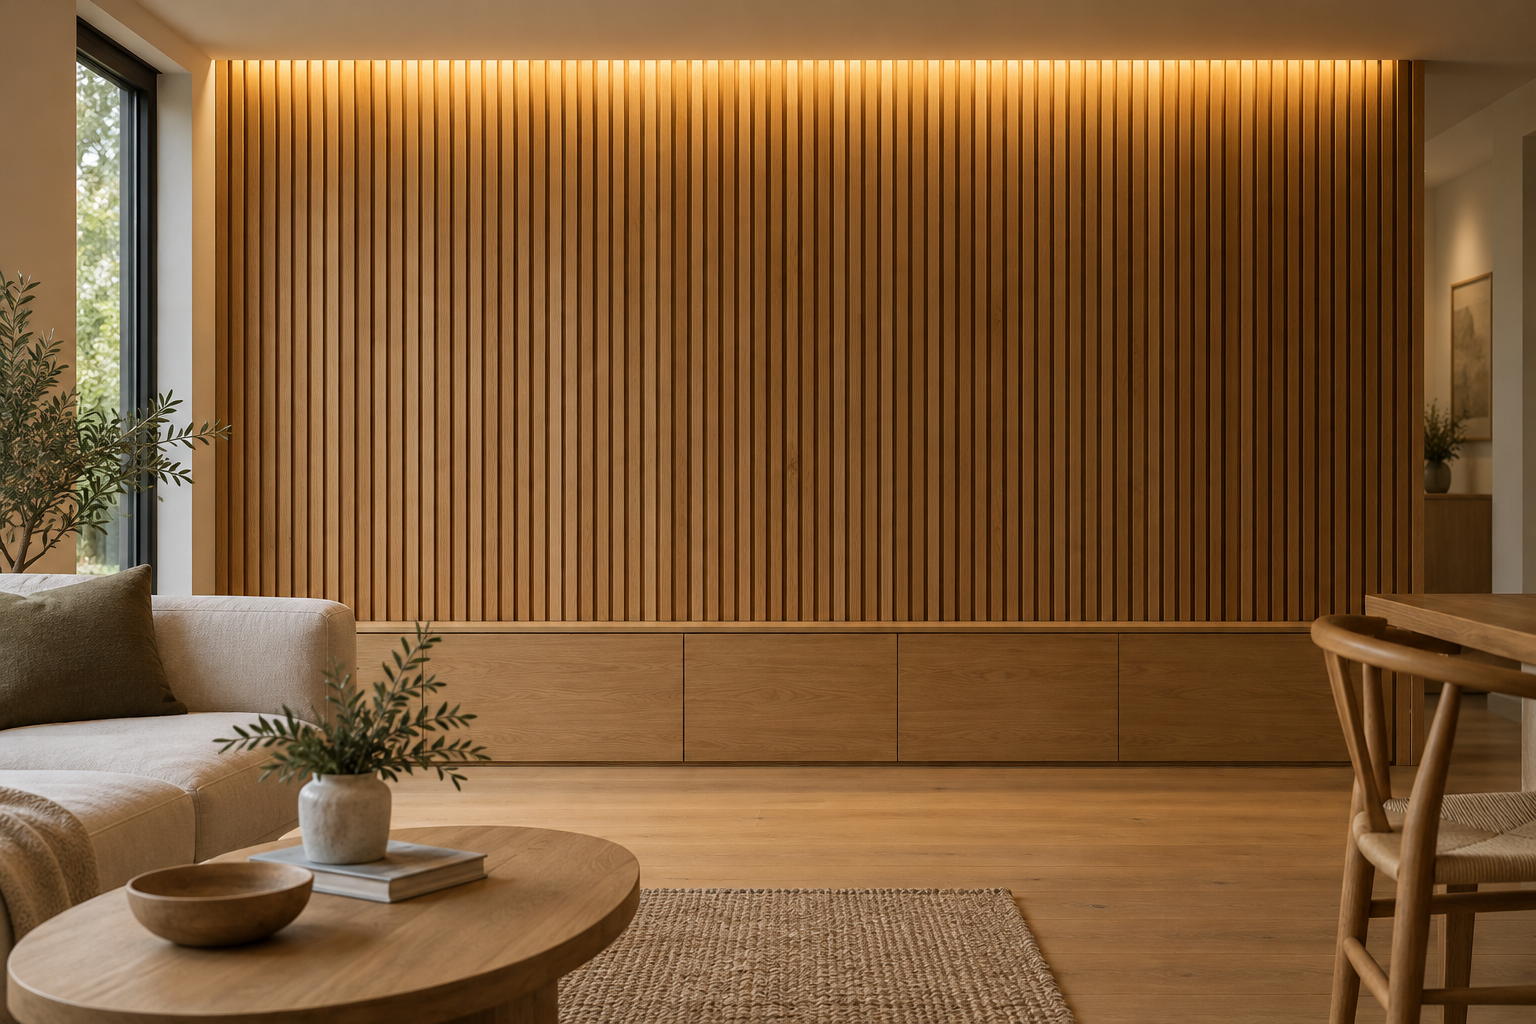
Light the wood rather than exposing a bright strip to the room. A shielded line can reveal grain and slat shadows; a broader wash can give a calmer background. Choose the effect from the normal viewing position, then design a serviceable strip, channel and supply around it. I would mock up one section before routing the entire wall.
Decide what the wall should look like
| Effect | Arrangement to explore | What can go wrong |
|---|---|---|
| Texture and deep shadows | Light grazing close to the surface | Minor panel misalignment and patchiness become prominent |
| A more even background | A broader wash from farther away | Spill or glare if the source is insufficiently shielded |
| A visible line between slats | Recessed channel with a suitable cover | Bright points, uncomfortable contrast and inaccessible joints |
| A perimeter glow | Concealed line beyond the visible panel edge | Light leaks and a bright first section near the supply |
There is no universal setback or channel depth for every slat profile. The wood finish, recess, diffuser, strip optics and viewing distance change the result. A glossy veneer can show a source reflection even when the source itself is hidden.
Make the mock-up answer a real question
Use the intended panel, finish, channel, diffuser and strip. Look from the sofa, desk, doorway and any stair or raised area that sees the wall. Run nearby lights and check the scene after dark. Photograph the arrangement for a record, but judge tint and glare in person because camera exposure and white balance alter them.
Move the sample until you can see the grain without being distracted by the source. Check the ends, corners and transitions around doors or screens. A continuous line can look broken at a connector or an abrupt slat interruption; plan those details before cutting the wall.
Treat timber, felt and adhesive as installation conditions
LED strips produce heat. Follow the strip maker’s mounting and heat-management requirements, using a suitable channel where specified. Wood, acoustic felt and decorative foam are not interchangeable heat sinks. A metal profile can help manage heat, but it does not certify an arbitrary assembly as safe.
Keep the supply and controller ventilated and accessible under their instructions. Do not bury them in a sealed panel cavity or cover them with insulation. Confirm the panel manufacturer’s restrictions as well as the lighting instructions; decorative or acoustic panel claims do not establish a fire rating for the completed lit wall.
Plan power, controls and repairs together
List every run and its model, voltage, length and rated power. Size the supported supply and controller from the product documentation, allowing for the maker’s operating limits. Feed arrangements, cable sizes and protection depend on the actual load and route; copying another room’s connection diagram leaves those questions unresolved.
Choose accessible connection points and a replacement route. A damaged short section should not require dismantling the whole wall. Keep spare compatible components and the selected color/model details if future visual matching matters. Only cut or connect with power disconnected, at marked cut positions using supported accessories.
Set the evening scene
Wood can look different under different white-light settings. Compare a sample beside nearby lamps instead of selecting Kelvin from an isolated product photograph. Dimming should lower the wall’s contrast comfortably without flicker or abrupt steps. Confirm the strip, driver and control combination rather than relying on the word “dimmable.”
A lit feature wall does not need to provide all task light in the room. Keep a separate reading or work light when needed so the wall does not have to become uncomfortably bright. For reflective screens, inspect the screen from its normal viewing position with the wall lighting on.
Bring in an electrician at the building-work boundary
Have a qualified electrician handle hardwired supplies, new outlets, concealed building wiring and uncertain circuits. Have the panel installer coordinate fixings, access and service openings. Stop if the plan requires cutting structural members, covering unknown wiring or defeating an enclosure to make components fit.
Keep the approved mock-up, component list and service-access details together. The result to aim for is a wall that looks right at ordinary brightness and can still be maintained after the joinery is finished.
Next steps
Compare strip constructions · Plan concealed lighting · Estimate the strip load
Questions & discussion
Share a question or a useful experience about this guide. Comments appear immediately. Your name and comment are public. Email is optional and stays private; reply emails are not enabled yet. Comment privacy.